Upload Local Image ⬆️
This document will guide you on how to obtain Harbor access credentials through the platform and upload your local Docker image to the Harbor repository.
🔐 1. Obtain Harbor Access Credentials
🚀 1.1 Log in to the Platform
First, log in to your platform (e.g., Kubernetes cluster management platform, CI/CD platform, etc.), and locate the section integrated with Harbor.
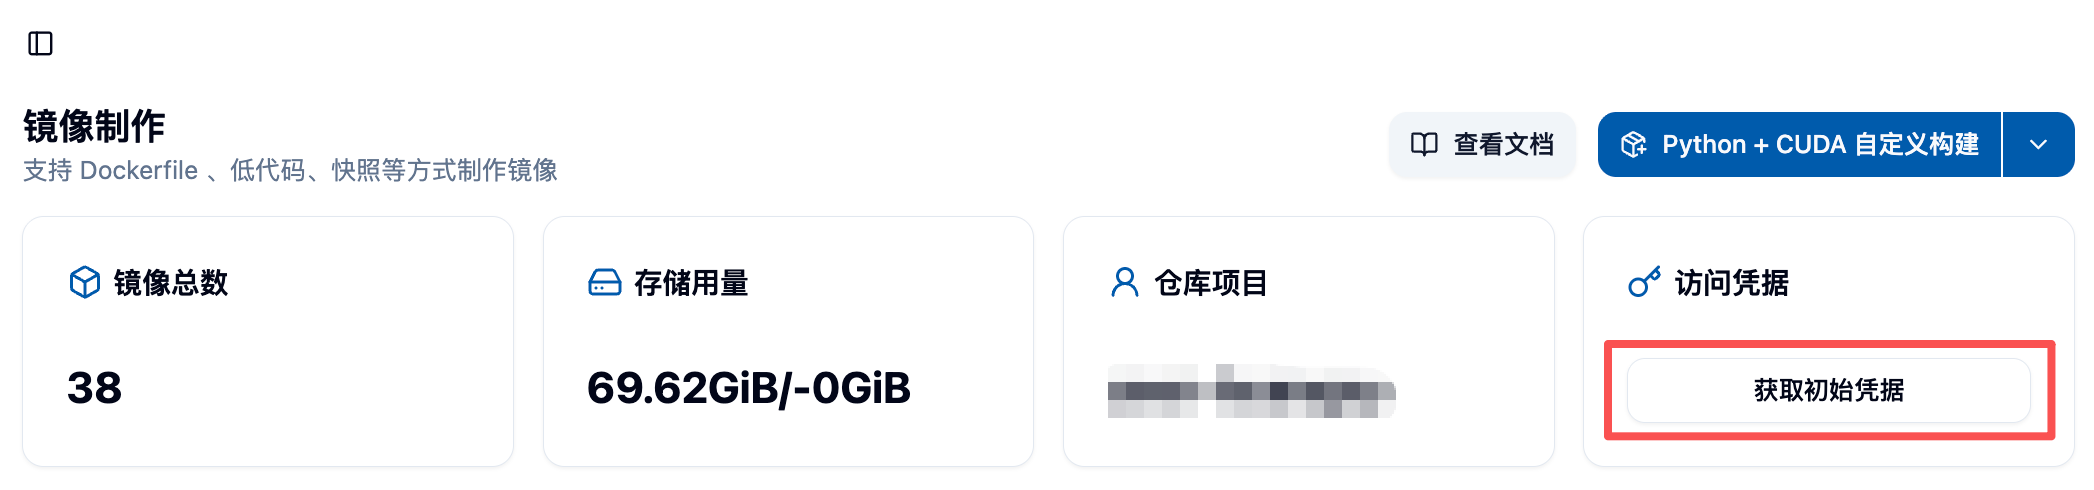
🔑 1.2 Obtain Access Credentials
On the platform's Harbor integration page, you can find the following information:
- 🌐 Harbor URL: The address of the Harbor repository, for example
https://harbor.example.com. - 👤 Username: Your Harbor username.
- 🔒 Password: Your Harbor password.
🔐 1.3 Log in to Harbor
Use the obtained credentials to log in to Harbor:
docker login harbor.example.com -u <username> -p <password>After successful login, you will see the prompt Login Succeeded. ✅
📦 2. Upload Local Image to Harbor Repository
🏷️ 2.1 Tag the Local Image
Before uploading, you need to tag the local image to comply with the naming conventions of the Harbor repository. For example:
docker tag local-image:tag harbor.example.com/project-name/repository-name:taglocal-image:tag: Your local image name and tag.harbor.example.com/project-name/repository-name:tag: The complete path of the Harbor repository, including the project name, repository name, and tag.
Each user's Project Name is user-{ACT username}. 💡
Tag Convention
Do not update images referred to by any tag other than latest. That is: if you have already pushed an image with tag v1.0.0 to Harbor, you should push to a new tag even for very small changes; if you need to iterate quickly, use the latest tag directly. Please follow this convention; otherwise the platform cannot guarantee that the image in use is the latest.
⬆️ 2.2 Push the Image to Harbor
Use the docker push command to push the tagged image to the Harbor repository:
docker push harbor.example.com/project-name/repository-name:tagAfter a successful push, you can see the uploaded image in the Harbor repository. ✨
✅ 3. Verify Image Upload
🌐 3.1 Log in to Harbor Web UI
Open your browser and visit the Harbor Web UI (e.g., https://harbor.example.com), and log in using your credentials.
👀 3.2 View the Image
Navigate to the corresponding project and repository to confirm that your uploaded image is successfully displayed in the repository.
📥 4. Import Image
After uploading the image to the Harbor repository, you still need to import it on the platform before you can use it in jobs and other scenarios. Please follow the Image List - Import Image documentation to import the uploaded image to the platform.
⚠️ 5. Common Issues
❌ 5.1 Login Failed
- Ensure that the username and password are correct.
- Check that the Harbor URL is correct and that the network can access it.
❌ 5.2 Push Failed
- Ensure that the path of the image tag is correct.
- Check whether you have permission to push the image to the specified project and repository.